Present Tense: Stitching a Reusable Wrap Wardrobe from Old Shirts
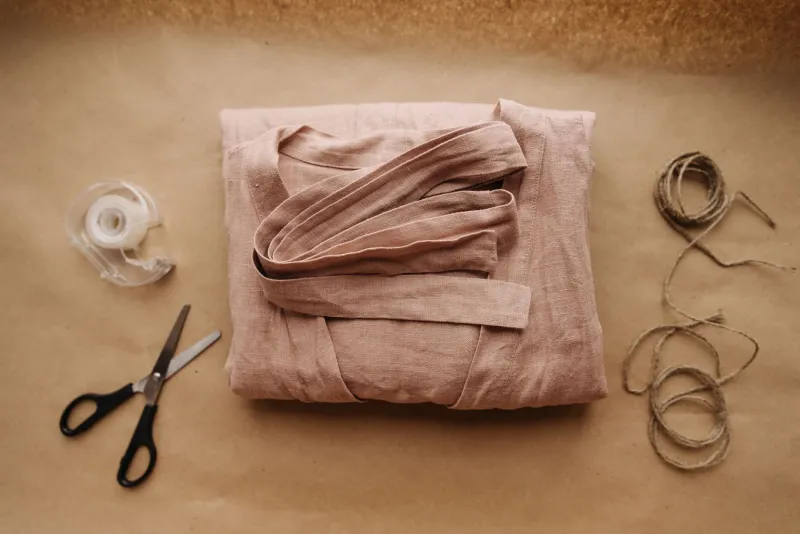
Christmas 2026 is close enough that the shops have started their annual playlist, and the drawer of rescued wrapping paper is already looking crumpled. This year, why not stitch a small wardrobe of reusable fabric wraps from old shirts? They are soft, sturdy, cheerful and endlessly re-knottable. Best of all, a stack of them can be made in an afternoon with the sort of straight seams that even a nervous beginner can manage.
Why fabric wraps earn their keep
Fabric wraps are the textile answer to furoshiki: a flat cloth, a few clever folds and a knot or two. No Sellotape, no ripping, no bin bag full of shiny paper on Boxing Day. A shirt back gives you a generous square, while sleeves and fronts can become smaller wraps, bottle bags or ribbon-ish strips. Stains and small holes do not matter much once the cloth is folded, and an outgrown shirt with a soft collar is ripe for a second life.
The real joy is that the wraps stay in the family. You can use them for Christmas 2026, then birthdays, then a picnic bundle, then a library-book sack. They are not just gift wrap. They are a small, useful sewing kit for the whole year.
Start with the shirt, not the scissors
Give each shirt a hot wash first, especially if it has been lurking at the back of a wardrobe. Then cut away the buttons, cuffs and seams. The back panel is usually the largest piece, so save that for your biggest square. Shirt fronts can be paired up or used singly, and sleeves are excellent for narrow wraps or little drawstring-style bundles.
Do not aim for perfect geometry. A wrap that is a bit wobbly is still a wrap. Trim the edges cleanly, remove any thick seam allowances that would make hemming lumpy, and press the pieces flat. If you are working with a child, let them choose the shirt and help with the unpicking. A blunt seam ripper and a little patience go a long way.
The three-square starter set
A useful wrap wardrobe starts with three sizes. A 45cm square is ideal for small boxes, jars and paperback books. A 60cm square handles most everyday gifts, including a folded jumper or a box of biscuits. A 75cm square is the generous one: it will wrap a shoebox, a bottle or an awkwardly shaped present with room to knot.
If you are cutting from a shirt, you may not get a full 75cm square from every panel. That is fine. Piece two rectangles together if you like the patched look, or simply make more 45cm and 60cm wraps. A rectangle about 35cm by 60cm is brilliant for a bottle: roll, fold, and tie at the neck. Write the sizes on a little tag or in your sewing notebook so you can build the set over time.
Hemming options for every confidence level
A simple double-fold hem is the workhorse. Press under 1cm, press under another 1cm, then sew close to the inner fold. If you are using a machine, a straight stitch is fine. If you want a bit more stretch or you are working with a fray-prone fabric, a narrow zigzag along the folded edge is forgiving and quick.
A mitred hem looks smarter and is not as scary as it sounds. Fold and press a 1cm hem on all four sides. Open out the corners, snip away the little triangle where the hem allowances cross, then refold so the corners meet neatly. Topstitch around all four sides. This is the version to use if you want a wrap that feels a little more gift-shop than rag-bag.
A no-sew finish for absolute beginners
If the sewing machine is still in its box, pinking shears are your friend. Cut the shirt panels with pinking shears so the edges have a zigzag profile. Then run a line of fray-check or a thin smear of fabric glue along the cut edge, leave it to dry, and you have a usable wrap with no hem at all. It will fray a little more over time than a stitched version, but it is a perfectly honest start.
This is also a good route for kids who want to make their own wrap for a friend. They can choose the fabric, help with the cutting and add a potato-printed motif. Just keep the good scissors for adults and let small hands use safety scissors on paper tags instead.
Knots that hold (and come undone)
For a box, place it in the middle of the square, bring two opposite corners up and tie a simple double knot. Bring the remaining two corners over the top and tie again. For a bottle, roll the bottle up in the cloth, fold in the ends, and tie a strip of shirt fabric around the neck. The knots should be snug, not strangled. You want the pleasure of untying it, not a five-minute wrestling match with a fat knot.
Small makers, potato prints and tags
Children love a stamping session, and potato printing is delightfully low-tech. Cut a simple star, heart or holly leaf from a potato, dip it in fabric paint and press it onto a spare scrap of shirt. Leave it to dry, then stitch or glue it to a plain paper gift tag. You can also print directly onto the corner of a wrap, but do a test patch first if the fabric is dark or the paint is thin.
For tags, cut small rectangles from cereal-box card, punch a hole and add a length of shirt-fabric strip or garden twine. Write the recipient's name on one side and a tiny care note on the other: cold wash, air dry, re-wrap. It is a nice little hint that this present comes with a future.
A wrap-care routine
Most cotton shirt wraps will wash beautifully at 30 degrees. Pop them in a mesh bag if you are worried about the hems, and avoid the tumble dryer if you want them to keep their shape. Iron on a medium setting while slightly damp, or simply smooth them flat with your hands and fold them into a drawer. A quick press before gifting makes even a humble shirt wrap look intentional.
The final bow
A set of these wraps makes a lovely gift in itself: three sizes, a few printed tags and a little card showing two simple knots. But the real win is the tradition. Christmas 2026 can be the year the wrapping paper drawer starts to empty and the shirt-wrap drawer starts to fill. Easy stitches, happy makers, and a pile of presents that look like they were wrapped by someone who knows how to tie a good knot.