The Brolly That Wouldn't Die: A Wipe-Clean Stitch Roll from Umbrella Scraps
There is a particular kind of UK optimism in leaving the house under a brolly that has already lost a fight with the wind. One bent rib later, it joins the sad umbrella graveyard by the door: too broken to shelter you, too useful-looking to bin. This month, give it a final outing as a stitch roll — a wipe-clean, tie-up home for needles, thread and small scissors that looks far more cheerful than its previous life.
Why umbrella fabric is a stitchy superhero
Umbrella canopies are usually made from nylon or polyester with a water-repellent finish. That means they are light, slippery in a useful way, and easy to wipe clean — ideal for a sewing roll that might travel to a kitchen table, a craft club or a rainy weekend away. The fabric also comes in gloriously unnecessary colours and prints. A black commute brolly gives you a sleek little tool wrap; a kids' character umbrella gives you a riot of colour and the satisfying feeling of rescuing something from the bin.
This is a beginner-friendly upcycling project, but it does ask for a little patience at the start. You are not sewing anything complicated; the trick is taking the canopy apart safely and cutting sensible rectangles. If you can sew a roughly straight line of running stitch, you can make this.
Safety first: taking a brolly apart without drama
Broken umbrella ribs are the real hazard here. They can be metal, fibreglass or plastic, and the ends can be sharp. Work on a table covered with an old towel, wear gardening gloves if you have them, and keep children well away from the deconstruction stage. This is an adult job; small makers can join in later for the pin cushion and patch-pocket bits.
- Open the umbrella as far as it will safely go, or cut the fabric away from the frame if the mechanism is jammed. Do not force a stubborn runner — snip the fabric free instead.
- Use strong scissors or wire snips to cut the canopy away from the ribs and central shaft. Cut in manageable sections rather than wrestling with the whole thing.
- Remove the little tips and any sharp rib ends. Wrap them in scrap card or tape before putting them in the bin.
- Shake out the fabric outside. Give it a wash in warm soapy water, rinse, and hang it to dry. If it smells mildewy or the coating is flaking badly, choose a different umbrella.
Once the canopy is free, you should have several large curved panels. Cut the biggest clean areas into flat pieces. For a standard roll, aim for one main rectangle about 40cm by 30cm, plus a pocket strip about 40cm by 15cm. The exact size is yours to choose: a roll for knitting needles wants more length, a roll for hand-sewing wants more pockets.
What you will need
- A broken umbrella with a clean, non-mildewy canopy
- Strong scissors, wire snips and gardening gloves
- Old towel or newspaper for the table
- Ruler, chalk or a disappearing fabric marker
- Sewing clips or sharp pins — clips are kinder to slippery umbrella fabric
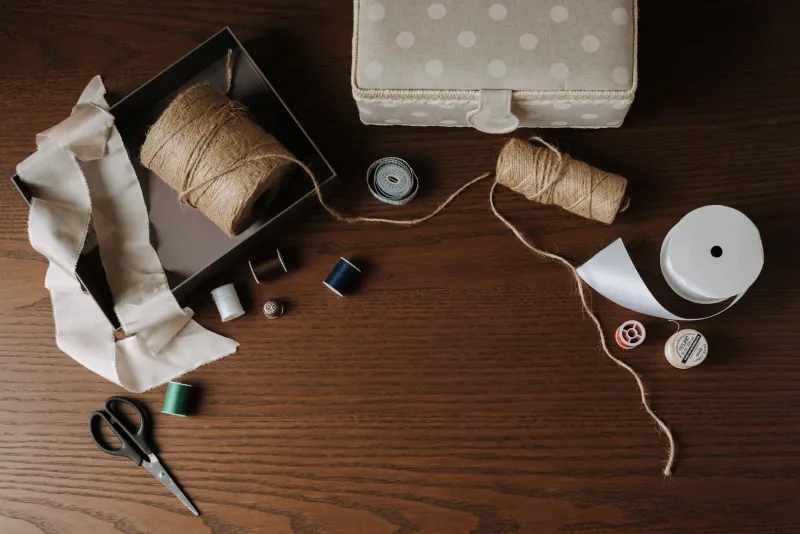
- Hand-sewing needle and strong thread, or a sewing machine if you prefer
- Ribbon, bias binding or a fabric strip for the tie
- A button or two, if you want a closure
Make the stitch roll
1. Cut and prep the panels
Cut your main rectangle and pocket strip from the flattest parts of the canopy. Umbrella fabric can be curved and seamed, so avoid seams in the middle of your pocket strip if possible. Give everything a press with a cool iron on the reverse, or simply smooth it flat under a book for an hour. Do not iron the coated side directly; a pressing cloth is your friend.
2. Fold the pocket strip
Press or finger-fold the top edge of the pocket strip under by about 1cm, then stitch it down with a simple running stitch or a machine straight stitch. This neatens the edge that will sit against your needles and scissors. Fold the bottom edge under too, if you like, though the raw edge will eventually be hidden in the seam.
3. Pin the pockets in place
Lay the main rectangle flat, right side up. Place the pocket strip along the bottom edge, aligning the raw bottom edges. Clip or pin along the sides and bottom. Now mark vertical lines where you want your channels: a narrow one for needles, a wider one for thread, and a deep one for small scissors. A 4cm channel suits a small tin of needles; 7cm is generous for thread; 8cm or more gives snips room to breathe.
4. Stitch the channels
Sew up each marked line from the bottom edge to the top of the pocket strip, using backstitch for strength or a machine straight stitch. Go slowly over the slippery fabric. If the pocket strip shifts, add a few extra clips. You are aiming for useable, not mathematical. A slightly wobbly channel still holds a thimble perfectly well.
5. Add the tie and finish
Fold the main rectangle in half to check the roll size, then unfold. Stitch a length of ribbon or fabric strip to one side, about halfway up, so it can wrap around the finished roll. Add a button on the outside if you want a tidier closure, or simply tie the ends in a bow. Finish the raw outer edges with a zigzag stitch, blanket stitch or a fold-over binding. Umbrella fabric does not fray dramatically, but a neat edge makes the roll last longer.
Leftovers: patch pockets and a rainy-day pin cushion
Do not bin the offcuts. Small umbrella panels make excellent patch pockets: cut a rectangle, fold under the top edge, stitch it to the outside of the roll, and use it for a small packet of embroidery needles or a folded pattern slip. The waterproof fabric is also brilliant for a tiny pin cushion. Cut two circles about 10cm across, sew them right sides together leaving a gap, turn, stuff firmly with fabric scraps, and slip-stitch the gap closed. The slick surface means pins glide in easily and the cushion wipes clean after a dusty afternoon at the machine. Keep it for dry pins only; umbrella fabric is wipe-clean, not invincible.
A quick word on waterproof versus wipe-clean
Every needle hole you make is a tiny puncture, so your finished roll is better described as wipe-clean and shower-resistant than fully waterproof. That is plenty for a sewing bag or a kitchen drawer. If you want extra protection for travel, pop the roll inside a small dry bag or a zip-up pouch.
A final stitch in the storm
The best upcycling projects are the ones that make you look at a broken thing and see the useful shape inside it. A dead umbrella is not really dead: it is a stack of bright, tough fabric waiting for a second job. Make one roll for your own sewing kit, then make another for a friend who is forever losing their scissors. After all, in this country, a brolly is never far from the door — and now it can earn its keep even after the wind has won.