Loop Dreams: A No-Needle Scrap Wreath for Small Makers and Cold Front Doors
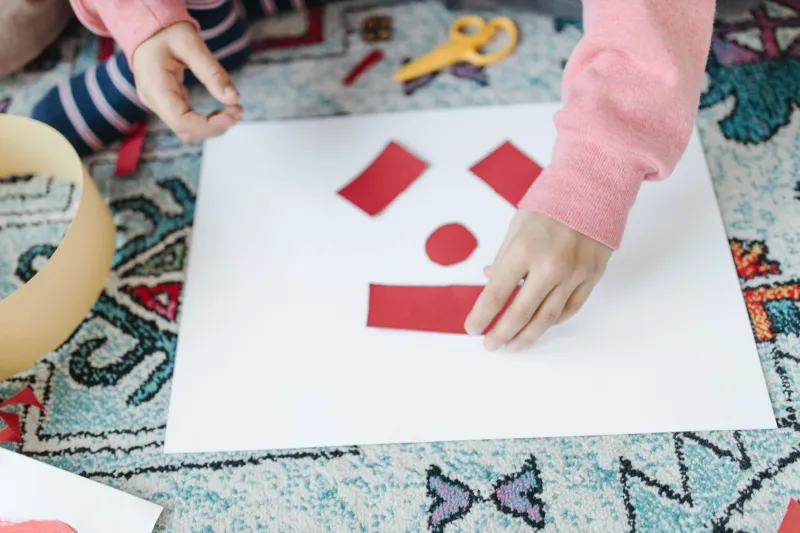
There is something quietly brilliant about a wreath made from things that were nearly thrown away. A sleeve of a jumper that shrank in the wash. The felt scraps left over from a felt-biscuit afternoon. A cardboard box that brought the online order. Give a child a bowl of those and a ring to tie them onto, and you get an hour of concentrated, glue-free, screen-free happiness — plus something genuinely nice to hang on the door.
This is the project we come back to every winter at Stitch Play because it asks almost nothing of you. No pattern, no machine, no pins. If a small maker can tie a shoelace (or nearly tie one), they can do this.
Why this beats a shop-bought wreath
First, the obvious: it costs next to nothing. Everything here is either in the scrap bag, in the recycling, or in the charity shop's bargain basket.
Second, it's forgiving. A rag wreath has no right answer. Stripes, clashing colours, a bit of sparkly tinsel rescued from a cracker — it all works once it's packed tight. That's a rare thing for a beginner project, and it means a five-year-old and a ten-year-old can work side by side on the same ring without anyone's section looking 'wrong'.
Third, and this is the bit we love most: it becomes a keepsake almost by accident. Write the year and the maker's name on the back and you've started a small family archive. In a few years you'll have a box of them, each one slightly more chaotic than the last.
The kit (nothing here is compulsory)
- A ring. The sturdy side of a delivery box is ideal. Or a wire coat hanger, though that one is strictly a grown-up job — see below.
- Fabric strips. Roughly 2.5cm wide and 20cm long. Old shirts, pyjama legs, school-uniform trousers that have given up, felt offcuts, the sleeves of an unloved charity-shop jumper. Knitwear is the secret weapon here: jersey and wool strips curl and spring and give the wreath its lovely fat, fluffy texture.
- Scissors. Proper fabric scissors for the grown-up, safety scissors for smaller hands.
- Ribbon or a shoelace for the hanging loop.
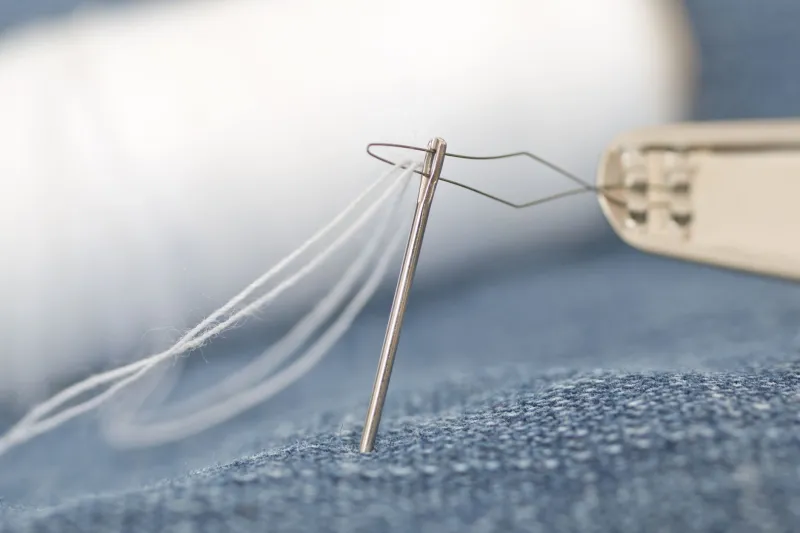
- Optional extras. A blunt tapestry needle and a bit of embroidery thread, for the grown-up finishing touches further down.
One word on quantities: you need more strips than you think. A 25cm ring packed properly will eat a whole jumper sleeve, a shirt back and a good handful of felt crumbs. Set a older child on strip-cutting duty while a younger one sorts by colour — it keeps everyone busy and the production line moving.
Making the base ring
Draw around a dinner plate on your cardboard, then a side plate in the middle of that circle, and cut out the ring between them. If the cardboard feels flimsy, cut two rings and glue them together; a double-thickness base stops the wreath flopping when it's loaded with fabric.
If you're using a coat hanger, an adult should bend it into a rough circle with pliers and tape over the twisted hook end so nothing sharp is left poking out. Little makers can decorate it, but the wirework is a grown-up's five minutes.
The knot that does all the work
It's called a lark's head, and once a child has done it twice they'll never need reminding again.
- Fold a strip in half so you have a loop at one end.
- Push the loop under the ring and fold it back over the top.
- Post the two loose ends through the loop and pull gently until it sits snug against the cardboard.
That's it. Now do it two hundred more times. Slide each knot along so they sit shoulder to shoulder — no gaps, no visible cardboard. This is the bit that takes the time, and it's also the bit that's oddly soothing. Put on an audiobook, pour something warm, and let it happen over an afternoon, or spread it across three afternoons if attention spans are short.
For colour, try one of three approaches: alternating (two colours, one after the other, very satisfying for orderly minds), ombre (pale strips at the top, dark at the bottom), or the lucky dip — everything in a bowl, no plan at all, which is the one the under-sevens tend to prefer.
Little hands, useful jobs
Matching the job to the child is the whole trick here:
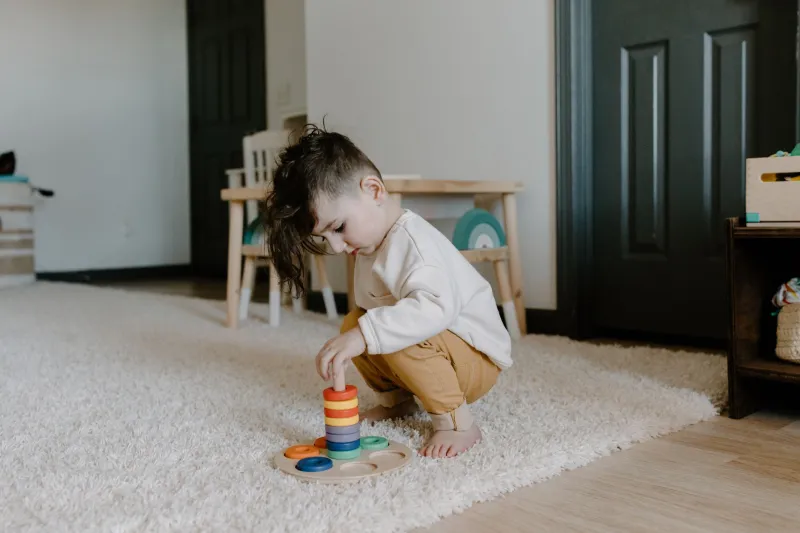
- Ages 3–5: choosing colours, sorting strips into piles, handing strips over, pressing knots down flat.
- Ages 5–8: the knotting itself, with a grown-up holding the ring steady at first.
- Ages 8+: full knotting, pattern design, trimming the ends at the finish.
- Grown-ups only: cutting the cardboard, the wire hanger, hot glue, and anything involving sharp fabric scissors.
The optional stitching bit
If there's a grown-up nearby who fancies a sit-down, add a small felt tag to the finished wreath — a heart, a star, an initial, the year. Blanket stitch round the edge, running stitch for a name, then stitch it to the ring by its corners. It takes fifteen minutes and turns a nice craft into something that looks properly made. Older children can manage a simple running stitch on felt with a blunt needle and a bit of supervision.
Finishing and hanging
Once the ring is fully covered, go round with the scissors and trim any wildly long ends to a soft, even dome. Don't be too tidy — a bit of shag is the charm.
For hanging, either tie a ribbon loop around the top of the ring, or glue a folded ribbon tab to the back with hot glue (grown-up job) and let it set properly before it goes anywhere near a door. Then, in marker pen on the back of the cardboard, write the maker's name and the year. Future you will be very grateful.
Three ways to give one away
- To a neighbour: tie on a handwritten tag — 'Made by Ada, aged 6, Christmas 2026' — and deliver it yourself. It's the sort of thing that ends up on someone's door for a decade.
- To a teacher or a host: make a mini version, about 8cm across, on a ring cut from a cereal box. Same knots, half an hour, brilliant tree decoration.
- As a gift topper: a tiny wreath tied to a present instead of a bow. It doubles as a decoration and it costs you nothing but scraps.
Keeping it for next winter
Wool and jersey will attract moths if you store them somewhere damp and dark, so pop the wreath into a shoebox with a sheet of tissue paper and a lavender bag, and keep it somewhere dry. Cardboard doesn't love a garage — a cupboard or the top of a wardrobe is kinder.
The wonky ones are the good ones
A scrap wreath is never going to look like it came off a shelf, and that is entirely the point. It'll be lumpy in places. One side will have more blue than the other. A five-year-old will have put three knots in a row in exactly the same spot, and you'll be able to spot them from the pavement for years to come.
That's not a flaw in the project. That's the whole reason to do it. Hang it up, shut the door, and go and find the mince pies.