Small Hands, Small Budget: Building a First Sewing Box for Under £15
There is a particular look that comes over a child the first time they pull a needle through fabric and realise they made that line. It is worth chasing. The good news is that you do not need a dedicated craft cupboard, a sewing machine or anything remotely specialist to get there.
Fifteen pounds, one tin, one afternoon — that is the whole plan.
What actually belongs in a first kit
Ignore the huge pre-packed children's sewing sets; they are usually 80% plastic tat and 20% thread that snaps. Build your own instead. This is a realistic UK shopping list, with typical prices.
- A tin or box (£2–3): a biscuit tin, a shoebox, or a small Really Useful Box from a stationery shop or The Range.
- Blunt tapestry needles (£2): size 13 or 14, big eye, rounded tip. These are the single most important purchase.
- Thread (£3): an eight-pack of cotton reels from a supermarket or a small embroidery floss bundle — floss is easier for small fingers to thread and looks cheerful.
- Spring-loaded snips (£2–3): the little squeezy kind, not sharp dressmaking shears. Safer and easier to control.
- Felt squares (£2): usually sold in packs of ten at Hobbycraft, Poundland or Boyes. Felt does not fray, so it forgives everything.
- Binca or large-weave hessian (£2): the grid fabric used in schools. Brilliant for even stitches.
- A needle threader (£1): buy two, because one will vanish.
- Fabric marker or tailor's chalk (£1–2): for drawing shapes.
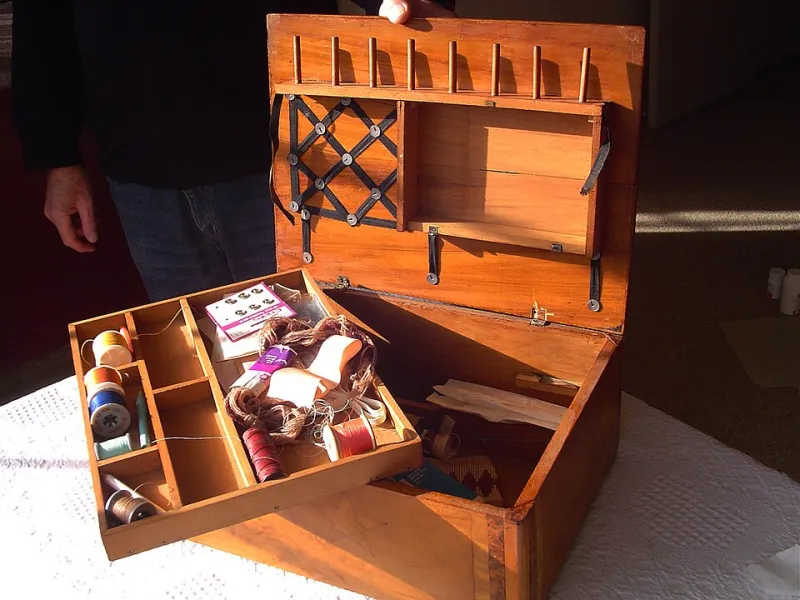
That lands comfortably under £15, and the tin is reusable forever. Add a magnet on the lid to catch stray needles and you have a genuinely good kit.
Safety notes worth reading twice
- These kits suit children roughly six and up, always supervised.
- Blunt needles still go in eyes. Sit side by side rather than opposite each other, so nobody waves a needle at a face.
- Skip pins entirely for younger makers — use clips or just hold the felt.
- Teach one rule above all others: needles go back in the tin the moment you stop stitching. Call it 'needle parking' and make it a game.
- Keep everything out of reach of under-threes, and remember that a dropped needle on carpet is best found with a magnet.
Project one: the felt monster bookmark
Two rectangles of felt, cut by the child, stacked together. Running stitch around three sides, stuff a few felt scraps inside, stitch the last side closed, then glue or stitch on googly eyes. Fifteen minutes, no pattern, instantly useful. This is the project that teaches 'in and out, in and out' without anyone noticing they are learning.
Project two: a binca rainbow sampler
Binca has holes big enough to see. Draw a rainbow arc in chalk across a square, then let them fill each band with a different colour in running stitch. The grid keeps stitches neat and gives a finished, framable thing at the end. Older children can add their initials in cross stitch in the corner.
Project three: the button buddy badge
Sew a large two-hole button onto a square of felt — the classic life skill — then add a drawn-on smile and a loop of thread at the top to hang it from a school bag. Teach the trick of stitching through the button holes several times before tying off at the back. It is fiddly, take-your-time work, and that is exactly why it is worth doing.
How to run a calm after-school session
Weekday crafting fails when it is over-ambitious. Keep it small and predictable:
- Twenty-five minutes, timer on. Anticipate the end before anyone is tired.
- One project only. Finish or don't; the tin goes away either way.
- Clear the table properly. A clean surface makes the whole thing feel like an occasion.
- Snack first. Genuinely — a fed maker is a patient maker.
- Make tidying part of it. Thread wound back onto cards, needles parked, lid on. The ritual makes the next session easier to start.
No craft room required. A kitchen table, a tea towel to catch clippings, and a spot on a shelf for the tin is the entire setup.
Storage that survives actual family life
Tape a photo of the contents to the inside of the lid, so everything goes back where it belongs. Wind thread onto old cereal-card bobbins. Keep a small pin cushion or a magnet in the corner as the official needle home. If siblings share, use two tins and name them — ownership matters more than you would think.
Where to shop in the UK
Hobbycraft for felt and binca, Poundland and B&M for tins and thread, The Works for cheap floss bundles, Boyes if you are lucky enough to have one nearby, and any good scrap store for fabric offcuts by the bag. Charity shops are goldmines for cheap buttons and embroidery hoops, and a local sewing shop will sell you three needles rather than thirty if you ask nicely.
Start with one tin, one project and one very proud maker. The rest tends to follow.