Pin Pals: A Scrap-Fabric Badge Bee for Wet Weekends
Some rainy weekends call for a film and a blanket. Others call for a kitchen table covered in fabric crumbs, a tin of biscuits and a small army of children making badges. This is the second kind.
A badge-making bee is part craft session, part swap shop and part excuse to use up the scraps you have been hoarding since the last school sewing project. The badges are quick to finish, pleasingly chunky and brilliant for school bags, denim jackets and noticeboards. Best of all, nobody needs to be a confident sewer. If a maker can thread a needle and do a wobbly running stitch, they are in.
Why badges are brilliant for beginners
A badge is small enough to finish in one sitting. That matters. A whole cushion can feel like a marathon to a seven-year-old, but a badge is a proper, wearable win before the biscuits run out. The button-cover kit does the boring structural bit, so the hand stitching is pure decoration: a little motif, an initial, a few stripes, a tiny face. Wonky is welcome here. In fact, wonky is often the point.
They are also a lovely way to use up odd-shaped scraps. You do not need a fat quarter. You need a circle of fabric roughly the size of a drinks coaster, plus a few smaller bits for decoration.
The kit and the scrap buffet
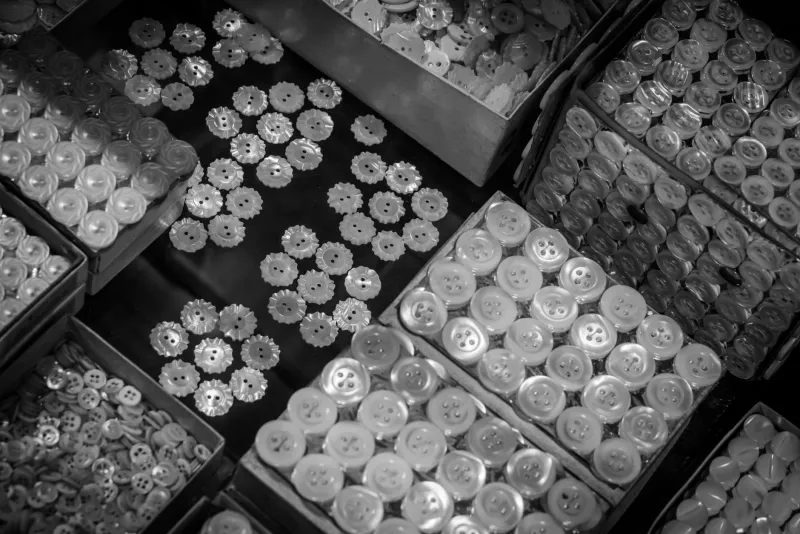
You will need a button-cover kit with pin backs. The 25mm size suits small hands and small scraps; 38mm gives more room for a design. These kits are usually a few pounds from haberdashery stalls, craft shops or online, and they come with a template and a plastic pusher tool. Check the packet to see how many badges it makes before you invite the whole street.
For the scrap buffet, gather:
- fabric scraps in bright colours, plus felt for easy motifs
- embroidery floss or perle cotton in a few strong colours
- short embroidery needles and sewing clips
- small sharp scissors for adults, rounded craft scissors for younger makers
- the kit template, a pencil and a few plain paper circles for planning
- strong craft glue for an adult to attach any loose pin backs
- a tray or tin for finished badges
Ask each maker to bring a handful of scraps, but have plenty spare. Children are generous with other people's fabric and oddly possessive about their own.
Make a badge in five small steps
- Choose a fabric circle for the base and a motif for the top. A plain scrap with a bold felt shape works well.
- Use the kit template to cut the fabric circle. If you are adding a felt motif, stitch it to the fabric circle first, keeping the stitches away from the very edge.
- Add simple hand stitches: running stitch around a shape, backstitch for an initial, a few straight stitches for whiskers or petals. Keep the design within the middle of the circle so the edges can tuck neatly around the button shell.
- An adult or older child places the fabric over the button shell, tucks the edges and snaps the back into place using the kit tool.
- Attach the pin back, or leave it for an adult to glue and dry. Pop the finished badge in the tray and admire it loudly.
Kid-friendly designs that always work
Little makers often freeze when faced with a whole scrap buffet, so offer a menu of ideas. A single initial is a classic. A tiny weather badge with a sun, cloud or raindrop is quick and cheerful. Felt pets, favourite snacks, rainbow stripes, robot faces, flowers and football scarf stripes all work beautifully. So does a tiny book spine for a reading-mad child, or a little star for a pocket-sized confidence boost.
The trick is to keep motifs small and simple. Three shapes are plenty. A badge is not the place for a detailed landscape.
Safety notes for little makers
This is a mostly gentle craft, but it still needs a grown-up in charge. Button-cover kits involve metal parts and a firm press, so adults should handle the snapping step for younger children. Keep sharp scissors and craft glue for adults and older makers. Use sewing clips instead of pins where you can, count needles back into the tin at the end and keep small kit pieces away from toddlers.
A sensible age guide is seven and up for supervised stitching, with younger siblings helping to sort scraps, choose colours and press the fabric flat. Badge pins should be checked before they go on a school bag, and anything with a loose back should be repaired or retired.
Hosting the bee without turning it into a boot camp
Keep the guest list small: four to eight makers is plenty for one table. Set up three zones. The scrap buffet is for choosing. The stitching spot has needles, thread and clips. The finishing station is where an adult runs the button kit. Add a swap rug or a clear patch of floor for the final trade.
A relaxed timetable works well. Fifteen minutes for a demo, forty-five minutes for making, twenty minutes for swapping and scoffing biscuits. Put the biscuits slightly away from the fabric table. Crumbs and white felt are not friends.
Swap, trade and display
Swapping is where the bee becomes a proper event. Try a one-for-one trade, a lucky dip, or badge bingo where each maker finds someone wearing a colour they do not have. Some children will want to keep every badge they make, and that is fine. The swap should feel like a bonus, not a tax.
Finished badges look brilliant on canvas school bags, denim jackets, lanyards, pencil cases, aprons and cork noticeboards. Try a fabric strip pinned to the wall as a growing badge banner, or a special badge cushion for the bedroom. A badge made by a friend is a tiny piece of proof that a rainy afternoon was well spent.
The best bit is the noise at the end: the clatter of the button kit, the trading chatter and the proud shuffle of makers deciding where their new badge should live. Rainy weekend, sorted.