Muddy Boots, Toasty Toes: A No-Pattern Fleece Liner for School-Run Wellies
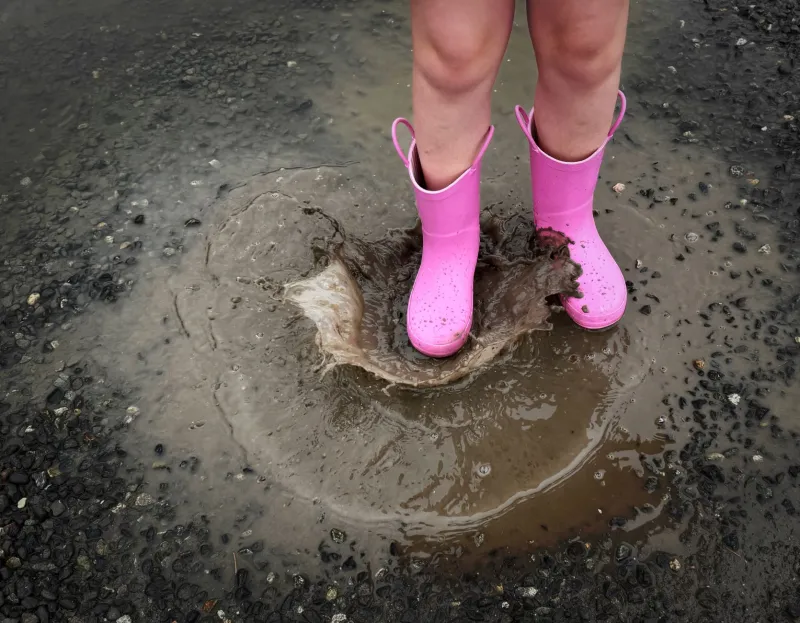
November has a way of making itself known through the ankles. You get the small person into coat, hat and gloves, then remember the wellies have been sitting in a cold porch since Saturday. Cue the familiar complaint: my toes are freezing. A pair of removable fleece liners is a lovely fix, and you can stitch them from the kind of soft scraps that are already in your bag: a tired fleece jumper, the legs of fleece pyjamas, a blanket offcut. No pattern, no zip, no scary bits. Just a tube, a cuff and a quick wash-and-rotate system that suits real school mornings.
At Stitch Play we are all for projects that earn their keep. This one does: it warms little legs, cuts down on rubbing at the heel and calf, and makes a pair of wellies feel much friendlier on a long, muddy weekend walk. It is also a brilliant first project if you are still finding your way around a machine, because the shape is basically a rectangle. Wonky seams are welcome. Warm toes are the goal.
Start with the boot, not the pattern
A welly liner does not need a shaped foot. The boot already has a sole, and a simple fleece sleeve will sit inside it like a soft tube. Your foot goes through the liner, the liner wraps the ankle and calf, and the top folds over the boot edge so it does not disappear down into the welly. That fold-over cuff is the clever bit. It keeps the liner in place and gives you something to grab when you pull it out for washing.
Use thin-to-medium fleece, microfleece or soft blanket fabric. Avoid anything too thick or stiff, especially if the wellies are already snug. An old fleece hoodie is ideal because the fabric is usually light and dries quickly. Fleece pyjama legs are another winner, and blanket scraps feel lovely against the skin. Give everything a wash first, then cut around any worn patches.
What you need
- Fleece scraps, old fleece pyjama legs or a blanket offcut
- A tape measure or long ruler
- Fabric scissors
- Pins or sewing clips
- Polyester thread
- A sewing machine with a zigzag stitch, or a hand-sewing needle if you prefer
- Optional: 2cm-wide elastic and a safety pin
- Optional: a small button and a scrap strip for a button tab
- Chalk or a washable marker
A quick note on needles: fleece is forgiving, but a standard needle will do for most light fleece. If your fabric is very thick, test on a scrap first. A narrow zigzag stitch is your friend here because it gives the seam a little stretch and stops it popping when the liner is pulled on and off.
The two measurements that matter
You only need two numbers per child. First, measure around the widest part of the calf, usually a few centimetres below the knee. Second, measure the boot from the inside sole to the top edge. If you cannot get the tape inside the boot neatly, stand the boot beside a ruler and measure up the outside, then subtract a little for the sole thickness.
For the width of each liner, take the calf measurement and add 4cm. That gives you seam allowance and a bit of breathing room. For the length, take the boot height and add 8cm. The extra length becomes a deep fold-over cuff at the top, plus a small turn at the bottom. If the child is growing fast, add another 2cm to the length and let the cuff start a little higher. Do not add lots of width, though. Too much fabric will bunch inside the boot and feel lumpy under the heel.
Cut, sew, turn, repeat
Cut two rectangles, one for each boot, using your measurements. Fold one rectangle in half with right sides together so the short edges meet. Sew along the long raw edge with a 1.5cm seam allowance, using a narrow zigzag stitch. You are making a tube. Backstitch at both ends. Repeat for the second liner.
Turn each tube right side out and try it inside the boot before you finish the edges. Slide it down until the bottom sits near the sole, then fold the top cuff over the outside of the boot. If it feels too long, trim a little from the bottom. If it feels too tight around the calf, let out the seam slightly. This is the moment to check for twisting. A liner that spirals around the leg is annoying to put on, so straighten the seam and pin it in place if needed.
Finish the bottom edge with a narrow zigzag or a small folded hem. You do not need a heavy hem because the bottom edge will live inside the boot, but a tidy finish stops it fraying in the wash. For the top, fold the cuff down about 4cm and press it gently with your fingers. You can leave it as a simple fold-over cuff, or add one of the two options below.
Option one: a soft elastic top
If you want the liner to stay put without relying on the cuff, make a casing at the top. Fold over 3cm of fabric, sew around the lower edge of the fold, and leave a 3cm gap. Thread a 2cm-wide piece of elastic through the casing with a safety pin, using a length that fits comfortably around the calf without pinching. Overlap the elastic ends and stitch them securely, then close the gap. This is a good choice for children who pull their wellies off in a hurry, because the liner stays up around the leg.
Option two: a button tab
A little button tab is useful if you want to hang the liners on a radiator or keep the cuff folded neatly. Cut a small strip of fleece, about 3cm by 10cm, fold it in half lengthwise and stitch along the long edge. Turn it right side out. Sew one end into the top cuff seam, add a buttonhole or a popper to the other end, and fasten it to a matching button on the outside of the cuff. Keep the button smooth and flat so it does not rub. This is also a nice way to add a name label if two children have identical wellies.
The puddle test
Before you call it done, put the liners in the boots and send the small person out for a proper test. The liner should feel snug but not tight. There should be no thick lumps under the heel, and the cuff should fold over the boot top without covering the whole welly. A thin sock underneath is usually enough. If the child says it feels weird at the toe, check that the liner is not bunched at the bottom. Pull it smooth, or trim a centimetre from the bottom edge.
For grown-up wellies, the same method works. Measure your own calf and boot height, use a slightly longer cuff and choose a fleece that is not too bulky. A pair of liners can turn a cold allotment morning or a muddy dog walk into something much more pleasant.
Washing, drying and the school-run rotation
Busy families need a system, not a ritual. Make two pairs if you can. Keep one pair by the door and one pair drying on the radiator. Turn the liners inside out after a muddy walk, shake off any grit and check the seams. Wash at 30°C on a gentle cycle, ideally in a mesh laundry bag so they do not wrap around other things. Skip the fabric conditioner, which can coat fleece and reduce its cosy loft. Air dry flat or over a radiator, and keep them away from high heat.
Label each pair with initials on the inside cuff. A simple fabric marker or a small stitched scrap works well. When the liners come out of the wash, give them a shake and a quick stretch back into shape. They should be ready for the next school run before the wellies have stopped dripping.
This is one of those small makes that quietly changes a whole routine. The wellies stay by the door, the fleece liners come in and out, and the complaint about cold toes becomes a rare thing. Easy stitches, happy makers, warmer puddle-jumping season.